Client Onboarding Process: 7 Steps for Service Businesses
Client Onboarding Process: 7 Steps for Service Businesses

A good client onboarding process takes a new customer from “yes” to the first finished job without anyone chasing missing details. For a contractor or small service company, it comes down to seven steps: confirm the deal, record the client once, set expectations, agree on payment, schedule the work, kick off, and follow up. It works best when customer records, quotes, scheduling and invoices live under one login, so nothing gets retyped between steps. That is the setup we built MyBizApps around.
TL;DR
- Onboarding is a repeatable sequence that starts when the client agrees and ends when the first job is delivered and reviewed.
- Seven steps cover it: confirm, record, welcome, agree on terms and payment, schedule, kick off, follow up.
- Settle scope, payment terms and who does what before the first visit. That is where most disputes start.
- Keep the client record, quote, schedule and invoice in one system so the whole team sees the same status.
- Automate reminders and handoffs, and keep the welcome call and the first visit personal.
Table of Contents
- What client onboarding is, and what it should accomplish
- The three stages every onboarding follows
- Step 1: Confirm the deal in writing
- Step 2: Create one client record
- Step 3: Send a welcome that sets expectations
- Step 4: Agree on payment terms before the first visit
- Step 5: Schedule the work and assign an owner
- Step 6: Run a short kickoff
- Step 7: Deliver, invoice and follow up
- A client onboarding checklist you can copy
- What to automate, and what to keep personal
- Why one system beats several for onboarding
- Run your onboarding in MyBizApps
- Our perspective
- FAQ
- Sources
What client onboarding is, and what it should accomplish
Client onboarding is everything that happens between a client saying yes and your team doing regular work for them. The AICPA, the professional body for US accountants, describes it as the focused, intentional integration of a client into a practice. It sets the norms the client can expect and explains how both sides will communicate, share information and handle problems.
That guidance is written for accounting firms, but the logic applies to any service business. The AICPA says consistent onboarding can improve communication, clarify which services are included and which are not, bring in client information sooner, improve workflow, and surface incompatibilities before work starts.
For a plumber, an HVAC crew, a cleaning company or a small office, that translates into plain outcomes:
- The client knows what you will do, when, and for how much.
- You have the address, contact, access details and billing information before anyone drives out.
- Your team knows who owns the job.
- The first invoice is no surprise to anyone.
A slow or sloppy start costs you in small, repeated ways: a second call to get a gate code, a quote that was never confirmed in writing, an invoice that sits unpaid because the client never agreed to the terms.
The three stages every onboarding follows
Before the steps, it helps to see the shape. Zapier’s guide splits onboarding into three broad stages: pre-onboarding, kickoff and post-kickoff. Applied to a service business:
| Stage | What happens | Typical service-business example |
|---|---|---|
| Pre-onboarding | Contract, payment arrangements, welcome | Signed quote, deposit terms agreed, confirmation message sent |
| Kickoff | Align on communication, scope, files and roadmap | First visit or call, site walkthrough, timeline agreed |
| Post-kickoff | Deliver the work, follow up routinely | Job completed, invoice sent, check-in after the first service |
The seven steps below map onto these stages. Steps 1 to 4 are pre-onboarding, steps 5 and 6 are kickoff, and step 7 is post-kickoff.
Step 1: Confirm the deal in writing
Onboarding starts the moment the client accepts. Confirm three things in writing: the scope of work, the price and billing arrangement, and the start date. Process.st’s workflow begins the same way, by confirming the signed agreement, scope, billing details and start date and then naming an onboarding owner and a backup.
What it takes: an accepted quote or a short agreement the client can sign or approve electronically. SignWell describes a reusable agreement template with electronic signature and automatic reminders, and gives a typical completion window of one to three business days.
Where it goes wrong: the quote lives in one tool, the conversation in text messages, and the job in someone’s head. When the client later says “I thought that was included,” there is nothing to point to. Put the quote, its approval and the job in the same place from day one.
If you also run the sales side, hand off what was promised. SignWell recommends the handoff include scope, goals, contacts, timeline, pricing and commitments, and that it happen the same day or within one business day after the agreement is complete. In a small company, that handoff is often one person talking to another across the shop, so write it down anyway.

Step 2: Create one client record
Collect the information you will need once, and store it once. A solid client record includes:
- Legal or billing name and the service address (these are often different)
- Main contact, plus a backup contact and preferred way to be reached
- Billing email, tax details if relevant, and a purchase order number if the client uses them
- Access notes: gate codes, parking, pets, alarm instructions, who has the keys
- Any files that belong with the job: photos, floor plans, prior invoices
Where it goes wrong: details collected by phone get scribbled on a work order and never reach the billing side. Then the invoice goes to the wrong person, or to nobody. The fix is a single customer record that the quote, the schedule and the invoice all draw from.
This is the first place where an all-in-one setup earns its keep. In MyBizApps, customer management, quotes, invoices and scheduling sit under a single login, so the record you create at intake is the one your crew sees on the schedule and your office uses to bill. If you want a routine for keeping conversations attached to that record, our guide on logging customer communications walks through four steps.
Step 3: Send a welcome that sets expectations
The welcome message is short and does real work. It should tell the client:
- What happens next, in order
- Who their main contact is, and how to reach them
- What you need from them and by when
- How and when you will update them
GoDaddy’s onboarding guide names client reassurance as a core outcome: clients should understand the plan, the expectations and the way you will collaborate, and feel their concerns are being heard. Zapier lists a welcome email or call as part of the pre-onboarding checklist.
For a service business, a two-minute call from the person who will actually run the job beats a long email. Follow the call with a written confirmation so the details are on record.
Where it goes wrong: the welcome is generic, or it never goes out because everyone assumes someone else sent it. Name one owner for this step. Team alerts and checklists inside your job system help here, because the task is assigned and visible rather than remembered.
Step 4: Agree on payment terms before the first visit
This is the step small firms skip most and regret most. Zapier’s guidance is to explain payment terms up front and offer payment options, and to use accounting software to create and send invoices and track payments.
At onboarding, settle:
- Deposit or upfront payment, if any, and when it is due
- When the final invoice goes out (the day the job finishes, not the end of the month)
- How long the client has to pay, and what happens after
- How they can pay: card, bank transfer, check
Put these in the agreement, not just in a conversation. We cover specific wording in payment terms for contractors, and the case for billing immediately in day-one invoicing to stop late payments.
Where it goes wrong: the client first sees your terms on the invoice. By then they feel like a surprise, and surprises get paid last. When the terms were agreed at onboarding, the invoice is just a reminder of a conversation that already happened.
MyBizApps includes quote and invoice creation, accounting and credit card payment processing, so the terms you agreed, the invoice and the payment can sit in the same system as the client record.
Step 5: Schedule the work and assign an owner
Once terms are set, put the job on the calendar and assign a named person. Process.st’s workflow includes assigning an onboarding owner and a backup. In a small crew, that means one lead for the job and one person who can step in if the lead is out.
What to lock in:
- The date and arrival window, confirmed with the client
- Who is going, and what they need to bring
- Any dependency, such as permits, parts on order or access that someone else controls
- What the client must do beforehand (clear the area, be present, provide a key)
Where it goes wrong: the schedule lives on a whiteboard or in a personal calendar, and a change on one side never reaches the other. Real-time scheduling and dispatch means the person in the truck and the person in the office are looking at the same job. Our piece on contractor scheduling best practices covers how small crews keep this clean.
Step 6: Run a short kickoff
The kickoff is the first real contact: a site walkthrough, a call, or a first appointment. Keep it short and structured. The aim is to confirm what you agreed, not to renegotiate it.
Cover:
- The scope, restated in plain words, including what is not included
- The timeline and milestones
- How requests outside the scope will be handled
- Who the client should contact, and how quickly they can expect an answer
The AICPA’s list of what to include in onboarding specifically mentions communication protocols, client responsibilities, deadlines and a protocol for additional or out-of-scope requests. GoDaddy likewise notes that clear scope reduces scope creep.
After the kickoff, send a short written summary: what was agreed, what happens next, who to call. It takes two minutes and prevents most “that’s not what I understood” conversations.
Step 7: Deliver, invoice and follow up
Deliver the first job well, then close the loop quickly:
- Mark the job complete and send the invoice the same day
- Ask whether everything went as expected
- Note anything you learned about the client for next time (preferred times, a second contact, recurring needs)
- Set the next touchpoint: a recurring service date, a seasonal reminder or a check-in
Process.st ends its workflow with review, feedback and a transition into normal ongoing service, and Zapier describes post-kickoff as delivery with routine follow-ups and transparent communication. That is the point where a one-time customer becomes a repeat one. If a client goes quiet later, our reactivation templates give you wording for reaching back out.
A client onboarding checklist you can copy
Use this as a starting template and trim it to your trade.
| Stage | Task | Owner | Done when |
|---|---|---|---|
| Pre-onboarding | Quote accepted and scope confirmed in writing | Sales or owner | Client approval on file |
| Pre-onboarding | Client record created with billing and service address | Office | All fields filled |
| Pre-onboarding | Payment terms agreed and deposit requested, if any | Owner | Terms in the agreement |
| Pre-onboarding | Welcome call or message sent | Job lead | Client has next steps and a contact |
| Kickoff | Job scheduled and crew assigned | Dispatcher | Client confirmed the window |
| Kickoff | Access, parking and site notes recorded | Job lead | Visible to the crew |
| Kickoff | Scope, timeline and out-of-scope process reviewed | Job lead | Summary sent |
| Post-kickoff | Job completed and invoice sent | Job lead and office | Invoice delivered same day |
| Post-kickoff | Feedback requested and follow-up set | Office | Next touchpoint on calendar |
One principle sits under the whole table: do not start delivery until scope, billing and ownership are clear. A checklist that makes those three things explicit protects you and the client.
What to automate, and what to keep personal
Repeatable tasks are worth automating, because they are the ones that get forgotten. SignWell lists several useful candidates: updating the record from intake answers, agreement templates, status changes after signature, scheduled reminders and automatic internal tasks, plus a shared status view. For a small service firm, that means:
- Appointment confirmations and reminders
- Task creation for the crew when a quote is approved
- Invoice creation from a completed job
- Payment reminders on a schedule
Keep these human: the welcome call, the first visit, and any conversation about a problem. Clients remember how you handled the first week more than how fast your emails went out. If you are weighing where AI fits into your wider operations, this overview of AI workflow automation is a useful place to start thinking through which tasks to hand off.
The launch controls matter just as much as the automation: someone should own each handoff, and nothing should move to the next stage until the previous one is complete. A look at what to automate first in a service-based business makes the same point about sequencing.
Why one system beats several for onboarding
Most onboarding problems in small firms are handoff problems. The quote is in one app, the schedule in another, invoices in a third, and the client’s details in a spreadsheet. Every gap is a place where information is retyped, delayed or lost.
A single system does not make onboarding easier by magic. It removes the retyping. The client record you build at step 2 is the same one that appears on the quote at step 1, on the schedule at step 5 and on the invoice at step 7. Your team sees one status, not four. If you are weighing a suite against separate tools, our seven capability questions for small service firms give you a way to decide. Keeping that data in one place also helps when records matter, as we explain in centralizing business data for contractors.

Run your onboarding in MyBizApps
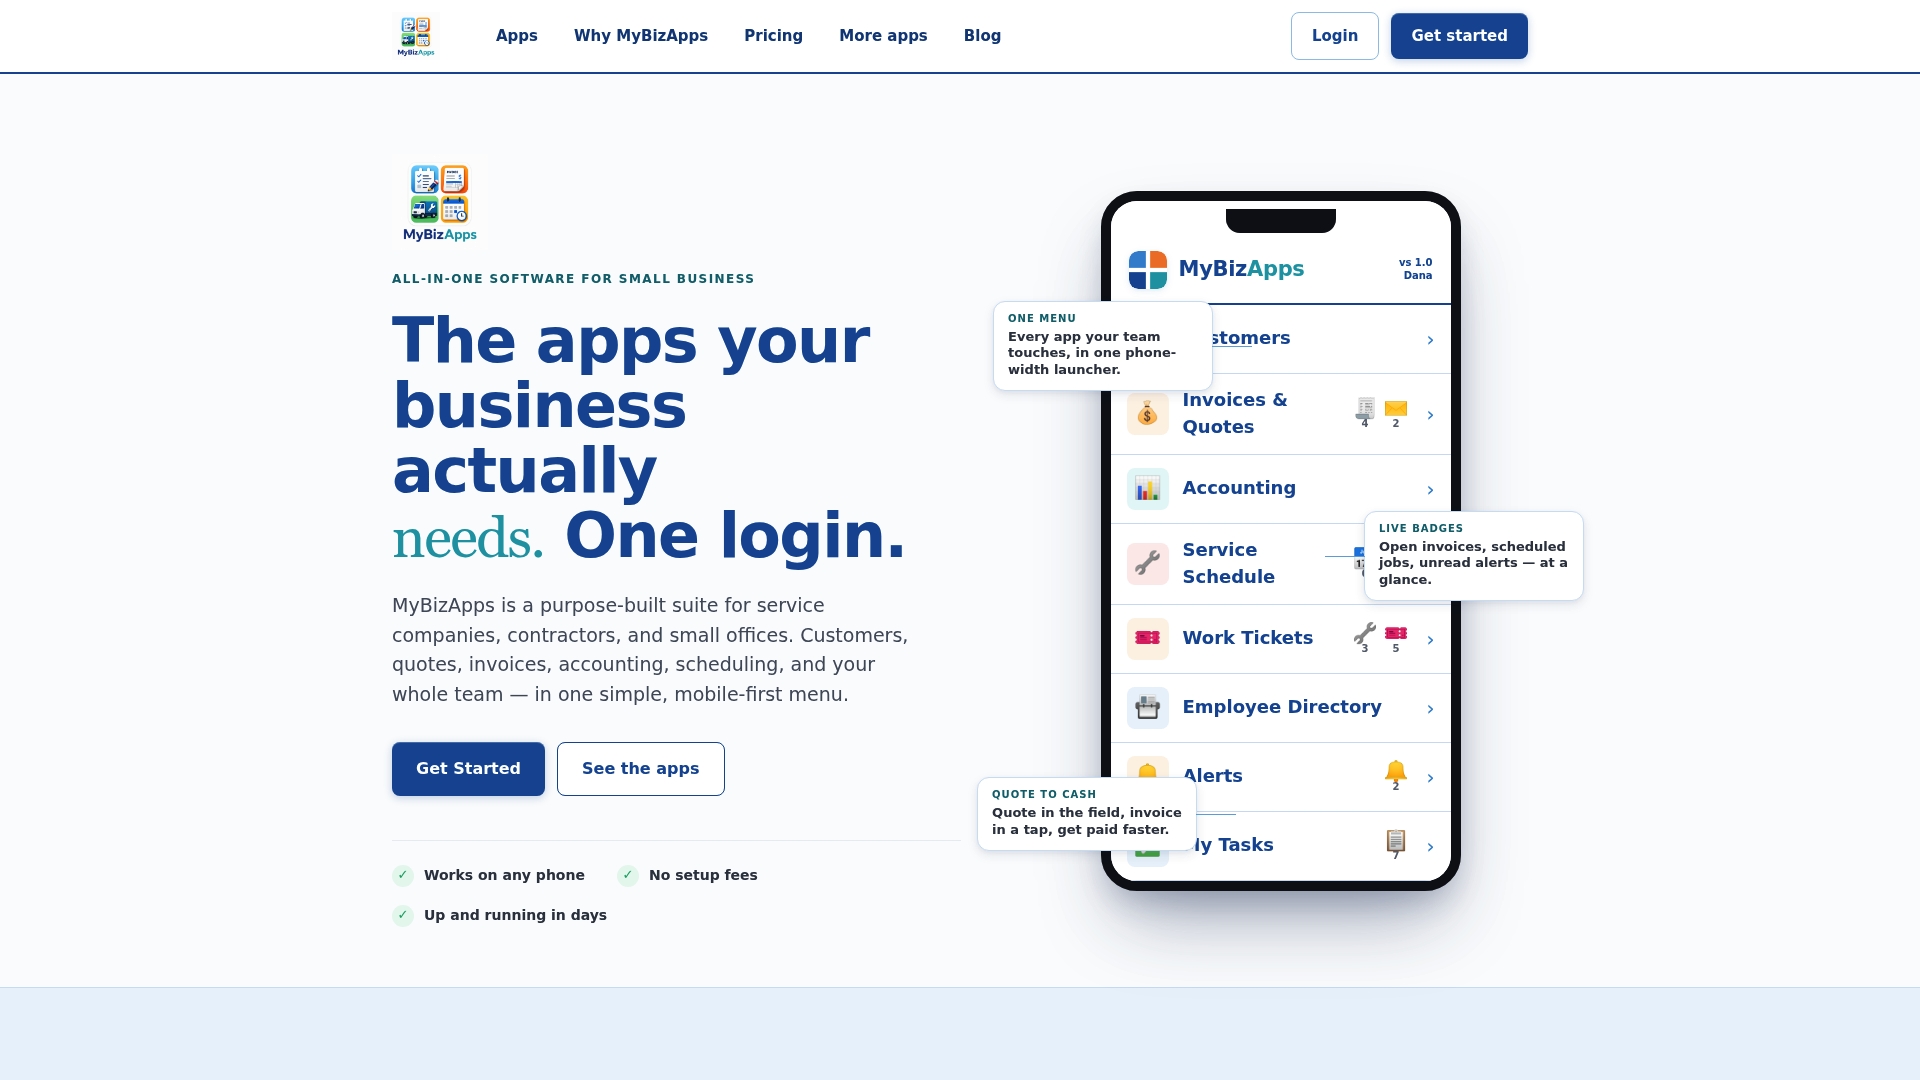
MyBizApps is a mobile-first suite for service companies, contractors and small offices. Customer management, quotes and invoices, real-time scheduling and dispatch, accounting, credit card payment processing, team alerts and checklists, and customer portal access all run under one login, so the steps above happen in one place rather than five.
You add what you need as modules. Bookings, Billing Module, Service Scheduling, Accounting and Customer Portal are each $21 per month. See the full list on the pricing page.
Our perspective
We built MyBizApps because we kept seeing the same problem in small service companies: the work is fine, but the business around it is scattered. A customer’s details are in one place, the quote in another, the schedule in a third.
Onboarding is where that scatter hurts first, because it is the moment a stranger becomes a client and every missing detail shows. We think the answer is not a longer checklist but fewer places to keep things. One login, one customer record, and a mobile interface that works for the person in the truck as well as the person at the desk.
That is why every core function in MyBizApps runs under a single menu, and why you can add modules as you grow instead of replacing tools. Agree on terms early, bill on day one, and let your system carry the routine so your people can spend their time on the client.
Philip
FAQ
What are the steps in client onboarding?
Confirm the signed agreement, scope and start date. Create the client record, send a welcome, agree on payment terms, schedule the work and assign an owner, run a short kickoff, then deliver, invoice and follow up. The seven steps above follow that order.
How long should client onboarding take?
It depends on the work. For a typical service job, the agreement stage can finish in one to three business days when you use a template and electronic signature. Complex, ongoing engagements take longer. The goal is no idle gaps between steps.
What is the difference between client and customer onboarding?
The terms overlap heavily. “Client” usually implies an ongoing service relationship with a contract and a named contact, which is how most contractors and service firms work. “Customer onboarding” is also used for software sign-ups. The steps are similar: agree, collect, welcome, deliver, follow up.
What should a client onboarding checklist include?
Agreement terms, communication preferences, client responsibilities, deadlines, and how out-of-scope requests are handled, as the AICPA lists. Add billing details, the service address, access notes and a named owner for the job.
How do I keep onboarding personal if I automate it?
Automate confirmations, reminders, task creation and invoices. Keep the welcome call, the first visit and any problem conversation in human hands. Automation handles the routine so you have time for those moments.
Sources
- Why formal client onboarding can help reduce risk, AICPA
- The Ultimate Client Onboarding Process Toolkit, Process.st
- 7-step client onboarding process, Zapier
- Client Onboarding Workflow: How to Build and Automate It, SignWell
- Client onboarding process guide, GoDaddy
- AI Workflow Automation: What It Is and How to Start
- What to Automate First in Your Coaching Business